Dify 是一个易用的 LLMOps 平台,旨在让更多人可以创建可持续运营的原生 AI 应用。Dify 提供多种类型应用的可视化编排,应用可开箱即用,也能以“后端即服务”的 API 提供服务。

主要功能:
-
工作流程: 在可视化画布上构建和测试强大的 AI 工作流,利用以下所有功能及其他功能。
-
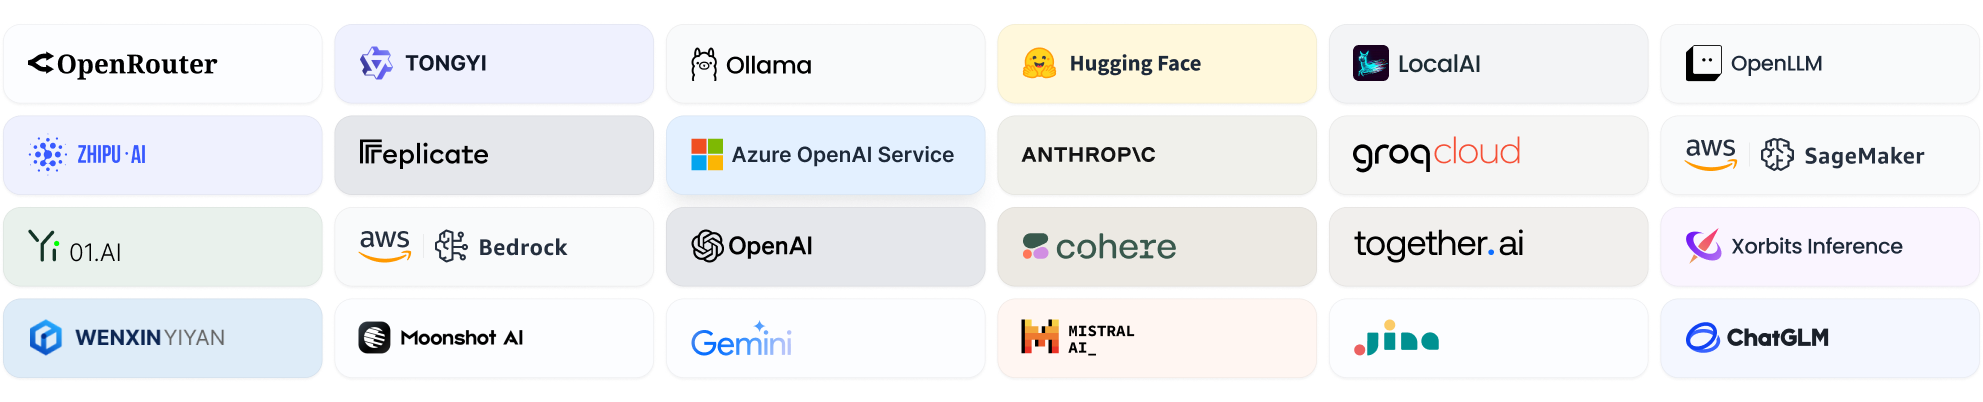
全面的模型支持: 与来自数十个推理提供商和自托管解决方案的数百个专有/开源 LLM 无缝集成,涵盖 GPT、Mistral、Llama3 和任何与 OpenAI API 兼容的模型。可在此处找到受支持的模型提供程序的完整列表。
-
提示 IDE: 直观的界面,用于制作提示、比较模型性能以及向基于聊天的应用程序添加其他功能,例如文本转语音。
-
RAG 管道: 广泛的 RAG 功能,涵盖从文档摄取到检索的所有内容,并为从 PDF、PPT 和其他常见文档格式中提取文本提供开箱即用的支持。
-
代理能力: 您可以根据 LLM Function Calling 或 ReAct 定义代理,并为代理添加预构建或自定义工具。Dify 为 AI 代理提供了 50+ 内置工具,例如 Google 搜索、DALL·E、稳定扩散和 WolframAlpha。
-
LLMOps: 监控和分析一段时间内的应用程序日志和性能。您可以根据生产数据和注释不断改进提示、数据集和模型。
-
后端即服务: Dify 的所有产品都带有相应的 API,因此您可以毫不费力地将 Dify 集成到您自己的业务逻辑中。
-
功能比较
| 特征 | Dify.AI | LangChain 语言链 | Flowise (流淨) | OpenAI 助手 API |
|---|---|---|---|---|
| 编程方法 | 面向 API + 应用程序 | Python 代码 | 面向 App | 面向 API |
| 支持的 LLM | 丰富的品种 | 丰富的品种 | 丰富的品种 | 仅限 OpenAI |
| RAG 发动机 | ✅ | ✅ | ✅ | ✅ |
| 代理 | ✅ | ✅ | ❌ | ✅ |
| 工作流 | ✅ | ❌ | ✅ | ❌ |
| 可观察性 | ✅ | ✅ | ❌ | ❌ |
| 企业功能(SSO/访问控制) | ✅ | ❌ | ❌ | ❌ |
| 本地部署 | ✅ | ✅ | ✅ | ❌ |
安装和使用
前提条件
在安装 Dify 之前,请确保您的设备符合以下最低系统要求:
- CPU >= 2 核
- RAM >= 4 GiB
| 操作系统 | 软件 | 说明 |
|---|---|---|
| macOS 10.14 或更高版本 | Docker Desktop | 将 Docker 虚拟机(VM)设置为至少使用 2 个虚拟 CPU(vCPU)和 8 GB 的初始内存。否则,安装可能会失败。更多信息,请参考 Docker Desktop for Mac 安装指南。 |
| Linux 平台 | Docker 19.03 或更高版本 Docker Compose 1.25.1 或更高版本 | 请参考 Docker 安装指南 和 Docker Compose 安装指南 了解如何分别安装 Docker 和 Docker Compose。 |
| 启用 WSL 2 的 Windows | Docker Desktop | 我们建议将源代码和绑定到 Linux 容器的其他数据存储在 Linux 文件系统中,而不是 Windows 文件系统中。更多信息,请参考 Windows 上使用 WSL 2 后端的 Docker Desktop 安装指南。 |
如果需要使用 OpenAI TTS,系统必须安装
FFmpeg才能正常运行。更多详情,请参考:链接。
克隆 Dify 仓库
运行 git 命令克隆 Dify 仓库。
git clone https://github.com/langgenius/dify.git
使用 Docker Compose 启动中间件
Dify 后端服务需要一系列用于存储(如 PostgreSQL / Redis / Weaviate(如果本地不可用))和扩展能力(如 Dify 的 sandbox 和 plugin-daemon 服务)的中间件。通过运行以下命令使用 Docker Compose 启动中间件:
cd docker
cp middleware.env.example middleware.env
docker compose -f docker-compose.middleware.yaml up -d
设置后端服务
后端服务包括:
- API 服务:为前端服务和 API 访问提供 API 请求服务
- Worker 服务:为数据集处理、工作区、清理等异步任务提供服务
环境准备
需要 Python 3.12。推荐使用 pyenv 快速安装 Python 环境。
要安装额外的 Python 版本,请使用 pyenv install。
pyenv install 3.12
要切换到 “3.12” Python 环境,请使用以下命令:
pyenv global 3.12
启动 API 服务
-
导航到
api目录:cd api -
准备环境变量配置文件
cp .env.example .env -
生成随机密钥并替换 .env 文件中的 SECRET_KEY 值
awk -v key="$(openssl rand -base64 42)" '/^SECRET_KEY=/ {sub(/=.*/, "=" key)} 1' .env > temp_env && mv temp_env .env -
安装依赖
使用 uv 管理依赖。 通过运行以下命令使用
uv安装所需依赖:uv sync对于 macOS:使用
brew install libmagic安装 libmagic。 -
执行数据库迁移
执行数据库迁移到最新版本:
uv run flask db upgrade -
启动 API 服务
uv run flask run --host 0.0.0.0 --port=5001 --debug预期输出:
* Debug mode: on
INFO:werkzeug:WARNING: This is a development server. Do not use it in a production deployment. Use a production WSGI server instead.
 * Running on all addresses (0.0.0.0)
 * Running on http://127.0.0.1:5001
INFO:werkzeug:Press CTRL+C to quit
INFO:werkzeug: * Restarting with stat
WARNING:werkzeug: * Debugger is active!
INFO:werkzeug: * Debugger PIN: 695-801-919
启动 Worker 服务
要从队列中消费异步任务,例如数据集文件导入和数据集文档更新,请按照以下步骤启动 Worker 服务:
-
对于 macOS 或 Linux
uv run celery -A app.celery worker -P gevent -c 1 --loglevel INFO -Q dataset,generation,mail,ops_trace如果您使用 Windows 系统启动 Worker 服务,请使用以下命令:
-
对于 Windows
uv run celery -A app.celery worker -P solo --without-gossip --without-mingle -Q dataset,generation,mail,ops_trace --loglevel INFO预期输出:
-------------- celery@bwdeMacBook-Pro-2.local v5.4.0 (opalescent)
--- ***** -----
-- ******* ---- macOS-15.4.1-arm64-arm-64bit 2025-04-28 17:07:14
- *** --- * ---
- ** ---------- [config]
- ** ---------- .> app:         app_factory:0x1439e8590
- ** ---------- .> transport:   redis://:**@localhost:6379/1
- ** ---------- .> results:     postgresql://postgres:**@localhost:5432/dify
- *** --- * --- .> concurrency: 1 (gevent)
  -- ******* ---- .> task events: OFF (enable -E to monitor tasks in this worker)
  --- ***** -----
  -------------- [queues]
  .> dataset          exchange=dataset(direct) key=dataset
  .> generation       exchange=generation(direct) key=generation
  .> mail             exchange=mail(direct) key=mail
  .> ops_trace        exchange=ops_trace(direct) key=ops_trace

[tasks]
. schedule.clean_embedding_cache_task.clean_embedding_cache_task
. schedule.clean_messages.clean_messages
. schedule.clean_unused_datasets_task.clean_unused_datasets_task
. schedule.create_tidb_serverless_task.create_tidb_serverless_task
. schedule.mail_clean_document_notify_task.mail_clean_document_notify_task
. schedule.update_tidb_serverless_status_task.update_tidb_serverless_status_task
. tasks.add_document_to_index_task.add_document_to_index_task
. tasks.annotation.add_annotation_to_index_task.add_annotation_to_index_task
. tasks.annotation.batch_import_annotations_task.batch_import_annotations_task
. tasks.annotation.delete_annotation_index_task.delete_annotation_index_task
. tasks.annotation.disable_annotation_reply_task.disable_annotation_reply_task
. tasks.annotation.enable_annotation_reply_task.enable_annotation_reply_task
. tasks.annotation.update_annotation_to_index_task.update_annotation_to_index_task
. tasks.batch_clean_document_task.batch_clean_document_task
. tasks.batch_create_segment_to_index_task.batch_create_segment_to_index_task
. tasks.clean_dataset_task.clean_dataset_task
. tasks.clean_document_task.clean_document_task
. tasks.clean_notion_document_task.clean_notion_document_task
. tasks.deal_dataset_vector_index_task.deal_dataset_vector_index_task
. tasks.delete_account_task.delete_account_task
. tasks.delete_segment_from_index_task.delete_segment_from_index_task
. tasks.disable_segment_from_index_task.disable_segment_from_index_task
. tasks.disable_segments_from_index_task.disable_segments_from_index_task
. tasks.document_indexing_sync_task.document_indexing_sync_task
. tasks.document_indexing_task.document_indexing_task
. tasks.document_indexing_update_task.document_indexing_update_task
. tasks.duplicate_document_indexing_task.duplicate_document_indexing_task
. tasks.enable_segments_to_index_task.enable_segments_to_index_task
. tasks.mail_account_deletion_task.send_account_deletion_verification_code
. tasks.mail_account_deletion_task.send_deletion_success_task
. tasks.mail_email_code_login.send_email_code_login_mail_task
. tasks.mail_invite_member_task.send_invite_member_mail_task
. tasks.mail_reset_password_task.send_reset_password_mail_task
. tasks.ops_trace_task.process_trace_tasks
. tasks.recover_document_indexing_task.recover_document_indexing_task
. tasks.remove_app_and_related_data_task.remove_app_and_related_data_task
. tasks.remove_document_from_index_task.remove_document_from_index_task
. tasks.retry_document_indexing_task.retry_document_indexing_task
. tasks.sync_website_document_indexing_task.sync_website_document_indexing_task

2025-04-28 17:07:14,681 INFO [connection.py:22]  Connected to redis://:**@localhost:6379/1
2025-04-28 17:07:14,684 INFO [mingle.py:40]  mingle: searching for neighbors
2025-04-28 17:07:15,704 INFO [mingle.py:49]  mingle: all alone
2025-04-28 17:07:15,733 INFO [worker.py:175]  celery@bwdeMacBook-Pro-2.local ready.
2025-04-28 17:07:15,742 INFO [pidbox.py:111]  pidbox: Connected to redis://:**@localhost:6379/1.
设置 Web 服务
启动用于前端页面的 web 服务。
环境准备
要启动 web 前端服务,需要 Node.js v22 (LTS) 和 PNPM v10。
-
安装 NodeJS
请访问 https://nodejs.org/en/download 并选择适合您操作系统的 v18.x 或更高版本的安装包。推荐使用 LTS 版本进行常规使用。
-
安装 PNPM
按照 安装指南 安装 PNPM。或者直接使用
npm运行以下命令安装pnpm。npm i -g pnpm
启动 Web 服务
-
进入 web 目录
cd web -
安装依赖
pnpm install --frozen-lockfile -
准备环境变量配置文件
在当前目录中创建一个名为
.env.local的文件,并从.env.example复制内容。根据您的需求修改这些环境变量的值:# For production release, change this to PRODUCTION NEXT_PUBLIC_DEPLOY_ENV=DEVELOPMENT # The deployment edition, SELF_HOSTED or CLOUD NEXT_PUBLIC_EDITION=SELF_HOSTED # The base URL of console application, refers to the Console base URL of WEB service if console domain is # different from api or web app domain. # example: http://cloud.dify.ai/console/api NEXT_PUBLIC_API_PREFIX=http://localhost:5001/console/api # The URL for Web APP, refers to the Web App base URL of WEB service if web app domain is different from # console or api domain. # example: http://udify.app/api NEXT_PUBLIC_PUBLIC_API_PREFIX=http://localhost:5001/api # SENTRY NEXT_PUBLIC_SENTRY_DSN= NEXT_PUBLIC_SENTRY_ORG= NEXT_PUBLIC_SENTRY_PROJECT= -
构建 web 服务
pnpm build -
启动 web 服务
pnpm start预期输出:
   ▲ Next.js 15
   - Local:        http://localhost:3000
   - Network:      http://0.0.0.0:3000

 ✓ Starting...
 ✓ Ready in 73ms
访问 Dify
通过浏览器访问 http://127.0.0.1:3000 即可享受 Dify 所有激动人心的功能。